


Monday is also our Computer Lab day. We divide up into two groups and while one group heads upstairs with our friend, Mrs. Tiffany, the other group stays with me. I always like to do something a little special so Group #2 doesn't feel left out. So this week we headed to the kitchen to make our own crayons! I always think it is so funny that children love to peel the paper off of crayons. Well, they do until they are actually instructed to do it! Some very sweet person donated a large box of used crayons to our school. Now, I said "large" but the word really should have been HUGE! We got busy peeling paper and doing a lot of giggling. It seems that on this particular day, peeling paper either makes you giggle or get mad.

We finally filled our muffin tins with all the broken and peeled crayons. We decided that some of the muffin tins would have all different shades of one color in it while others were filled with every color you could imagine. We popped them into the oven and in just a few minutes they were all melted. I put the in the refrigerator while we were on the playground. When we returned - our very own, homemade new crayons! FUN!

Tuesday we talked about our theme of the week, "Church". I think it is very important to remind the children that even though we are at school, we are still "in" a church. I always tell them that NO ONE loves to act silly and have fun more than I do. BUT, there are a few times that we have to be "RESPECTFUL". The first is when we head upstairs to have our Chapel time. The second is when we say a prayer. And the third is when we say our Pledge of Allegiance. I only have a couple of children who need reminding of this. And believe me, I remind them! (OKAY, I'll get off my soapbox now . . .) Anyway, we are very lucky to have a beautiful stain glassed window in our church/school, so I thought we needed to make one too. We are lucky to have a large commercial Ellison Die Cutting Machine upstairs in the main office that we can use. We got a large roll of contact paper
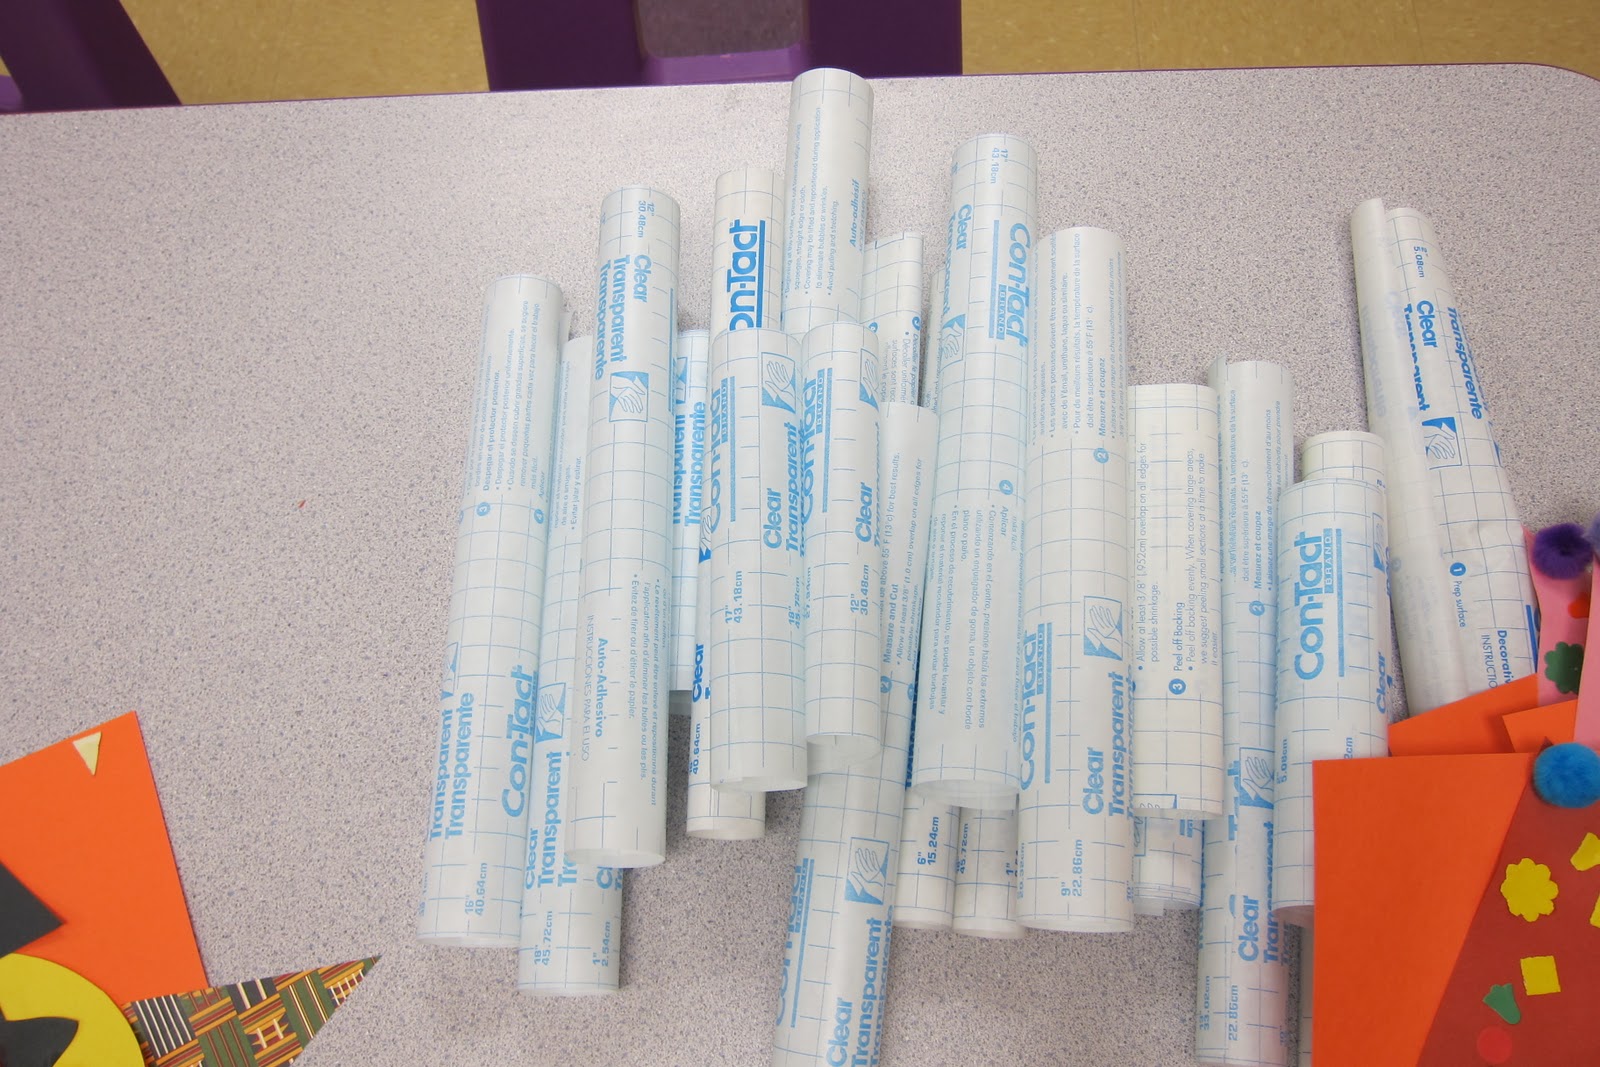
and requested the "church window" die cut and we went to work!


During the week, while some students are working on their art projects other students have the opportunity to explore our different centers. One of the most popular centers (right behind the blocks) is our writing center. I have taken some writing sheets that I downloaded from First-School I made copies of the writing paper and wrote each child's name on one. I laminated the sheets and the children use the new Crayola dry erase crayons. These things are amazing!

The children write then they wipe! Everyone loves it practice writing our names!
Another fun center is our "Fine Motor Skills" table. There is always a different game or manipulative to help us work on our fine motor skills. Here is one of our newest games. We call it the "Color Wheel".


As the year progresses, I will change out the clothes pins. The next step is to have them with only the words written on them in the correct color. After that they will have only the words, no color. I love having fun and learning our color words at the same time.
Wednesday is always a fun filled day! Besides our regular activities we get to spend 30 minutes in the gym with Mrs. Nancy. She has wonderful games and activities planned. It is a Physical Education class designed just for us. I had what I thought was a fun art project planned for us too. Well, as always things got changed. I saw this Puffy Paint Cupcakes over at Teach Preschool and I knew we MUST DO IT! There are no words to describe the fun we had. Everyone loved saying, "it looks good, but you can't eat it!". First we read the wonderful book If You Give a Mouse a Cupcake by Laura Numeroff. We love all her books! By the time I finished finished reading it everyone was giggling and asking, "are we going to eat a cupcake?" I really felt bad when I told them "no". But everyone agreed, our art project was almost as good! We started by folding the paper for our cupcake wrapper -


If you are wondering whether or not it stayed puffy?
Well, YES IT DID!
We had to be a little careful taking it home, but it was still nice and puffy.
Oh, and it smelled good too!
THANK YOU SO MUCH DEBORAH STEWART
for another great idea!
Our Thursdays are so busy! First we have Chapel and that last about 40 minutes and we also squeeze in a 20 minute Spanish class. I have to plan fun but quick activities for Thursday. This week, I think I nailed it! The puffy painted cupcake gave me an idea. We had found some puffy paint in the supply closet earlier and I had been wanted to use it. I hesitated, because it said you had to bake it in the oven for it to "puff". But wait . . . putting something in the oven and baking it is called, "cooking" it right????? Okay, let's do this! I found an old writing sheet that we trace for writing practice.

It gave me an idea! I drew circles onto a piece of aluminum foil

Each child decided what color to put in each circle
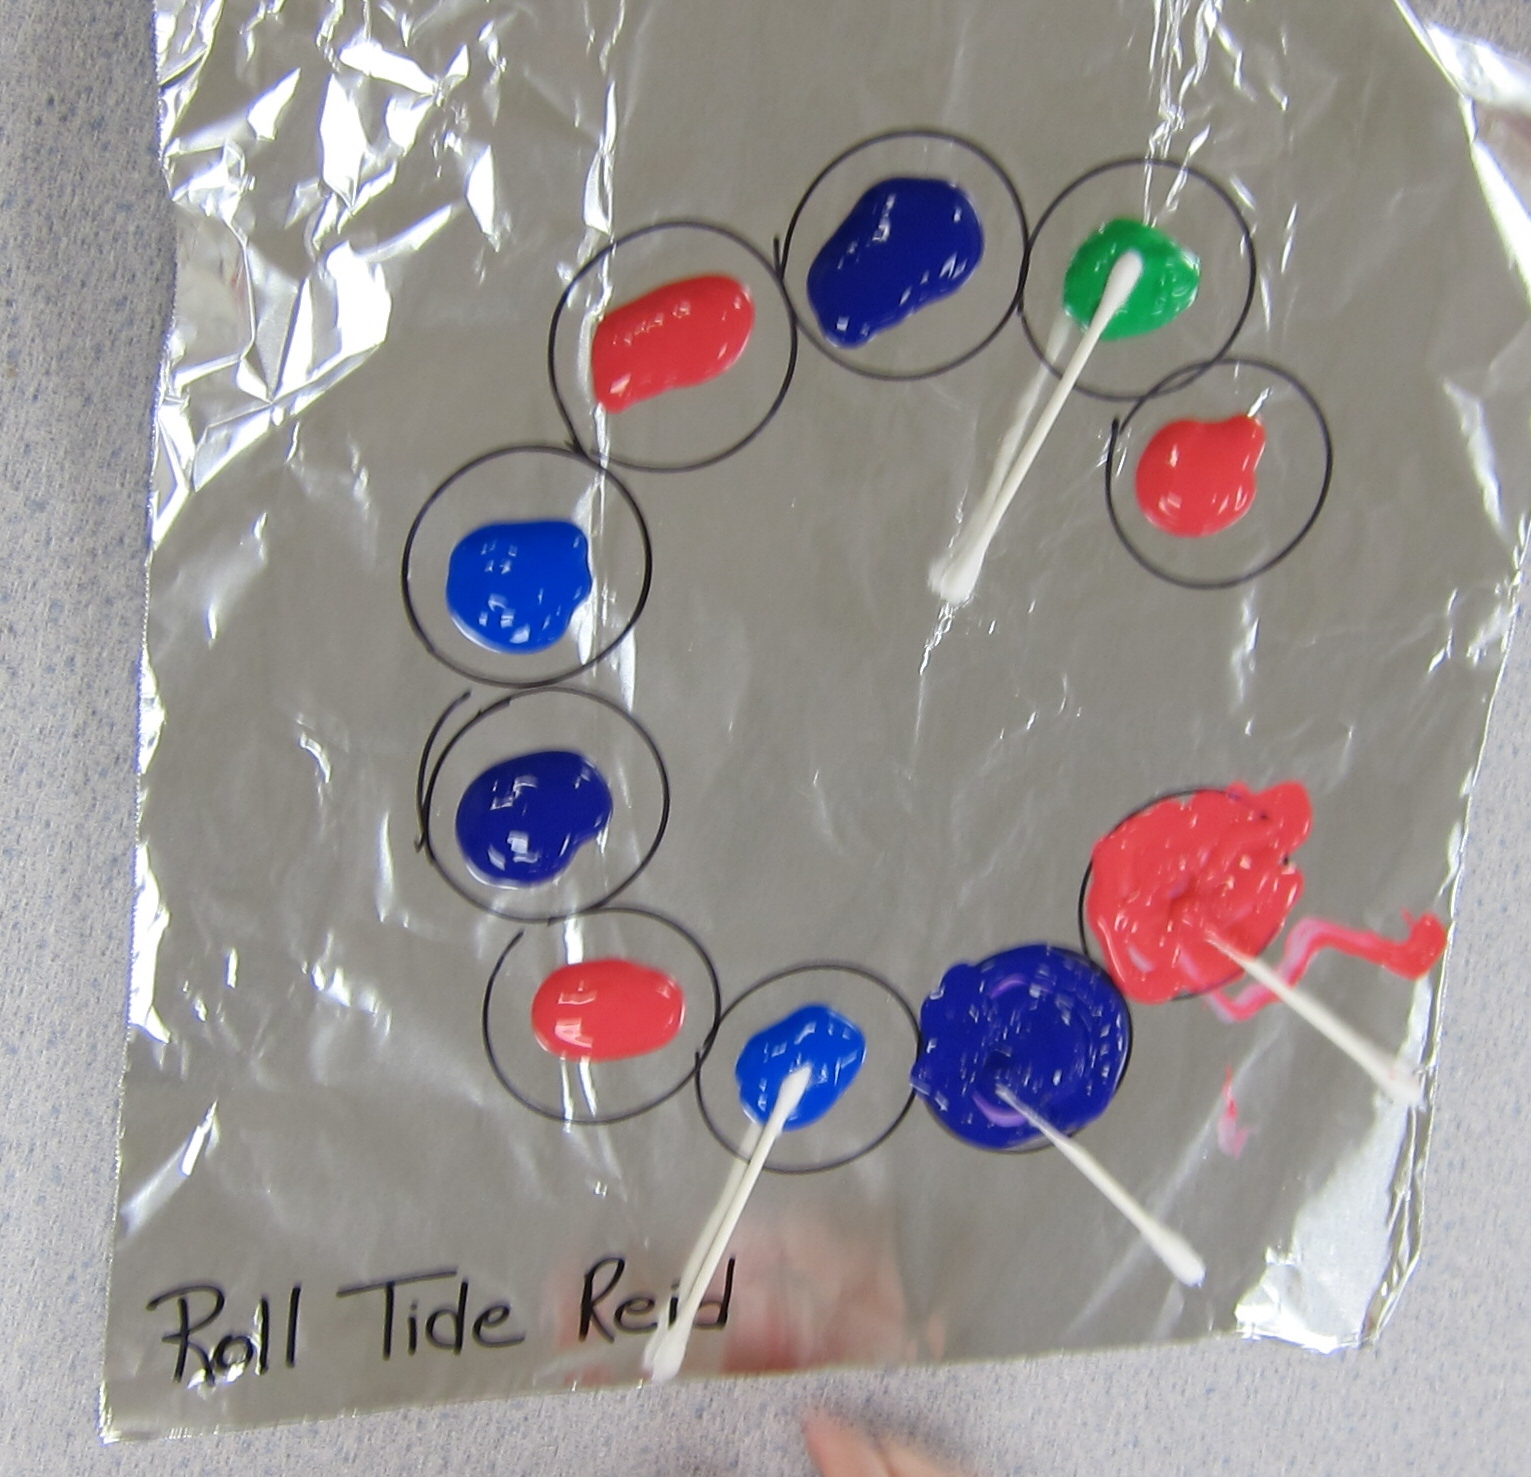
We spread the paint around and waited 24 hours for it to dry! (Just a note, preschoolers and some teachers are not very good at waiting!)
Since we had to wait and I didn't tell them what was going to happen to the paint, we spent our circle time discussing the possibilities. And discuss we did! I loved some of the answers. Of course there is always that one person who thinks (maybe hopes really) that it will "blow-up". A few thought it might "disappear" and several thought it would change colors! We wrote all our answers on the board and waited.
Friday morning finally arrived and we headed to the kitchen to cook our "Cs". A 350 degree oven for about 5 minutes and . . . . .
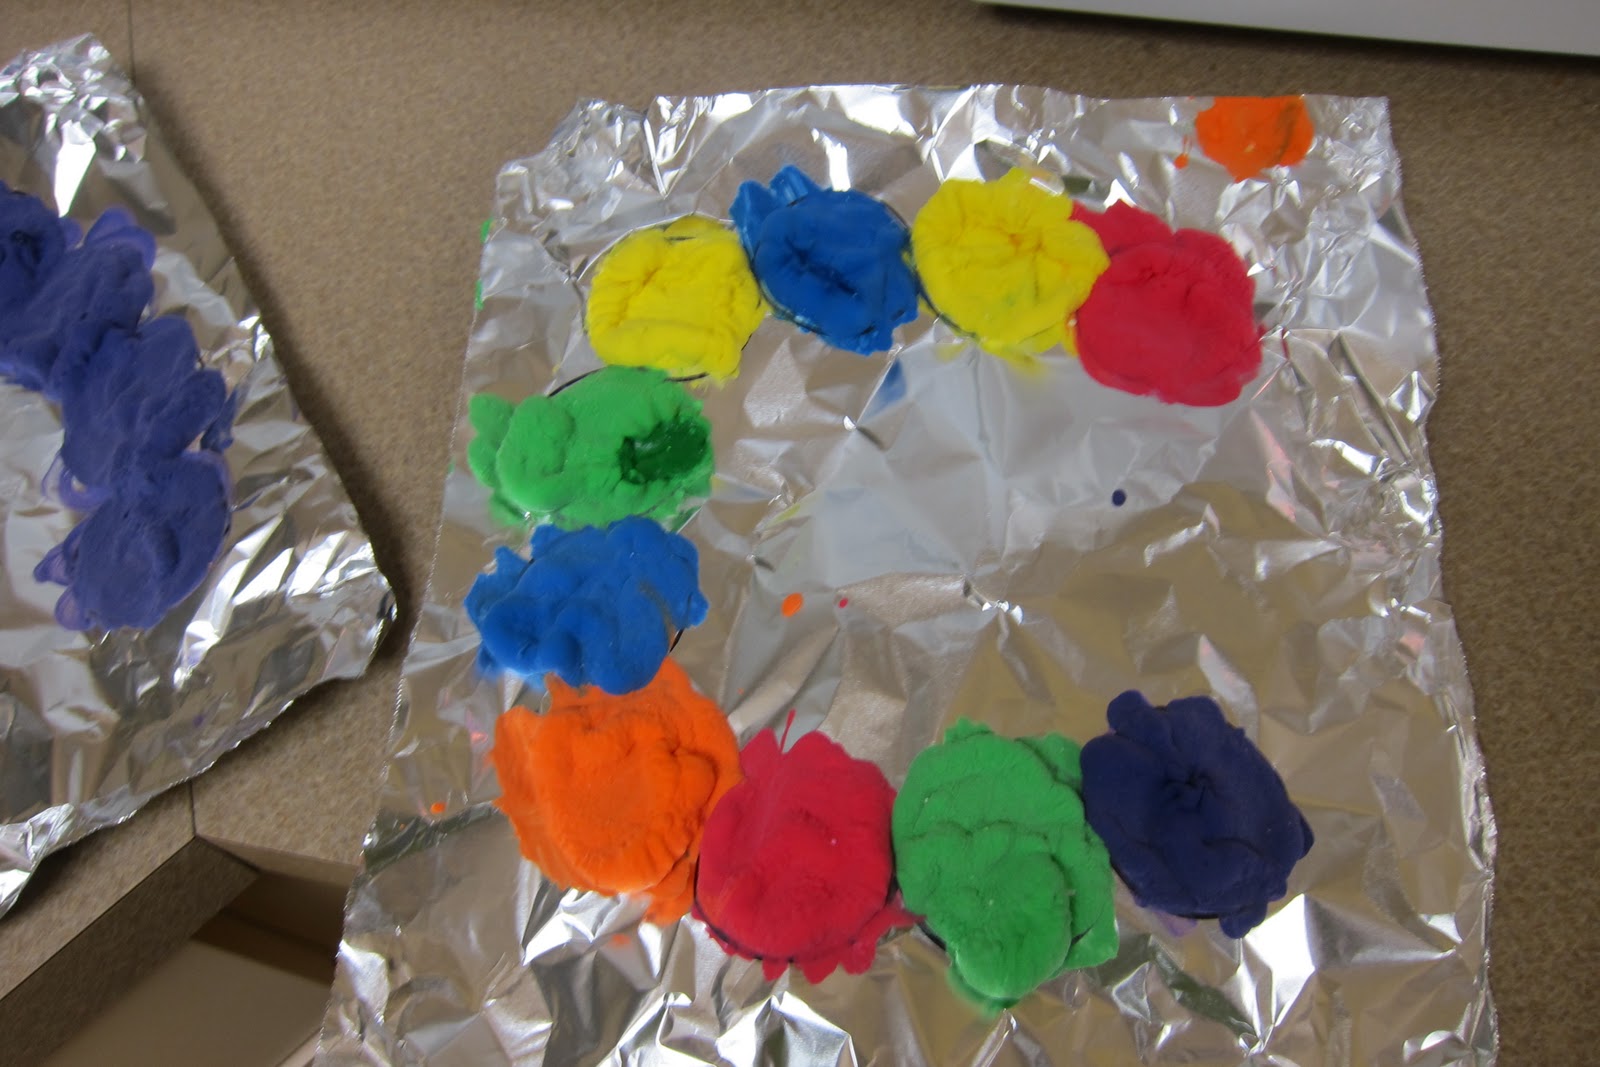
WOW!
A colorful "C"!
Friday of course is our big science experiment day. We did a wonderful experiment involving milk, food coloring and dishwashing detergent. I call it a "Colorful Explosion". Okay, nothing really exploded but it does get their attention. First I dropped some green food coloring into the room temperature milk.

The I drop one drop of dishwashing detergent into the center of the food coloring

AHHH! The food coloring will move very quickly! We had to do it many, many times. But each time everyone loved it.
Of course we had to cook something this week and since we had just read If You Give a Mouse a Cookie we had to make a chocolate chip cookie. BUT, we had to make it the "Mrs. Karen" way! Here are a couple of versions of our chocolate chip cookies -

Our number of the week was "3" so each cookie got 3 chips!

I really loved the stacked cookie! YUM!
Of course each Fabulous Fun Friday we must have a Fabulous Art Project and this week we had SEVERAL! I found this vegetable slicer thingie in my basement. (I think my mother-in-law gave it to me because she didn't want it anymore. PLEEAAASSSEE. . . don't tell her what I did with it!) When I looked at it, it was all rusty, YUCK! So, I used it at school to make crayon shavings!

Well you know what you HAVE to do with crayon shavings . . .

YES! We melted them onto a triangle piece of paper! We called it "A Very Colorful Triangle!" (Sorry, no pictures of the final project, I forgot!)
My sweet friend and fellow teacher, Mrs. Christi, had a lot of fun melting crayons. I am sure that you have seen this

It is all over the internet. Of course we had to try it. First, cover you area with a lot (and I do mean a lot) of plastic. I'm sure the original artist was much older than my class, but I think we did a great job! We glued crayons randomly to a piece of cardboard using E-6000 glue. I put out an S.O.S. to my friends on Facebook saying I needed an old hair drier. Luckily, I found one! Here are some amazing pictures of us in action


Everyone waited pretty patiently for their turn. Now here it is

OUR MASTERPIECE!
We were all so proud!
What an amazing week! We were all so very tired by the time it was carpool time, one little girl actually fell asleep.
Thanks for stopping by and check on us! I hope you will come back again!

 One of our fun projects this week was a cool looking car. Check it out and please notice that we used all of the shapes and colors that we studied, red circles, blue squares and yellow triangles!
 Our special snack this week was a wonderful car cookie! I guess we could have just bought some cookie dough and cut a car shape but that's just not us. We made our from graham crackers, round vanilla wafers and yellow icing. They were a big hit!


