


Our Class Christmas Tree
Christmas is a wonderful time of year for most people. But if you are one of the lucky people who teach pre-school, you know it is more than just wonderful, it is truly magical! My class has had almost a month of fun, fun and more fun. Along the way we talked about the TRUE meaning of Christmas and the letters "J", "B" and "N". "Hold on to your sleigh bells people, this is going to get crazy" . . . .
We started our fun with the letter "J". The entire week we jumped and jiggled our way to and from all our different activities. And of course we sang "Jingle Bells" every chance we got. Our fun "J" art was perfect. The weather had just started to turn cold so we got out our jackets!

We worked on a fun sorting activity this week too. I have a large, no make that HUGE supply of scrapbook paper. I love to scrapbook and have a hard time throwing away any scrap of paper, no matter what the size. Well this week we put all those scraps to good use. Everyone picked out their favorite rectangle pieces paper and put them in order, starting with the smallest. We ended up with a little star on top and a brown square at the bottom. A perfect Christmas tree!

With this next art work we switched gears a little and started talking about patterns. My class loves to look for patterns. They all get so excited when they realize things have a pattern on them. This next art project was perfect! First, we cut out some wonderful little strips of red paper.


Look at a CANDY CANE, what do you see?
Stripes that are RED like the BLOOD shed for me!
WHITE for my Savior, Who's sinless and pure!
"J" is for JESUS, My Lord that's for sure!
Turn it around and a staff you will see ---
Jesus, my SHEPHERD, Is coming for me!
This was the perfect art project for the letter "J", don't you agree?????
One of my favorite "J" words is Jello,

so of course we had to make some. We headed down to the kitchen for a little cooking/science fun! I knew that we wouldn't have enough time to make Jello the old fashion way, instead we did the speed-set method and it was so fun.
One of my favorite "J" words is Jello,

so of course we had to make some. We headed down to the kitchen for a little cooking/science fun! I knew that we wouldn't have enough time to make Jello the old fashion way, instead we did the speed-set method and it was so fun.

I have a Christmas ornament that my son made for me when he was little. I loved it so much that I do it every year with my class. We start with a little green circle cut from poster board. Everyone covers the circle with puzzle pieces.


After they dry we paint them a lovely Christmas green and add a few beads and ribbons. A perfect Christmas ornament!

The following week was by far "my favorite". I love the letter "B", and I love Christmas - let the fun begin! "B" week has always been my favorite because I love so many "B" words. This year we added a few more "favorite" "B" words and now I love it even more!
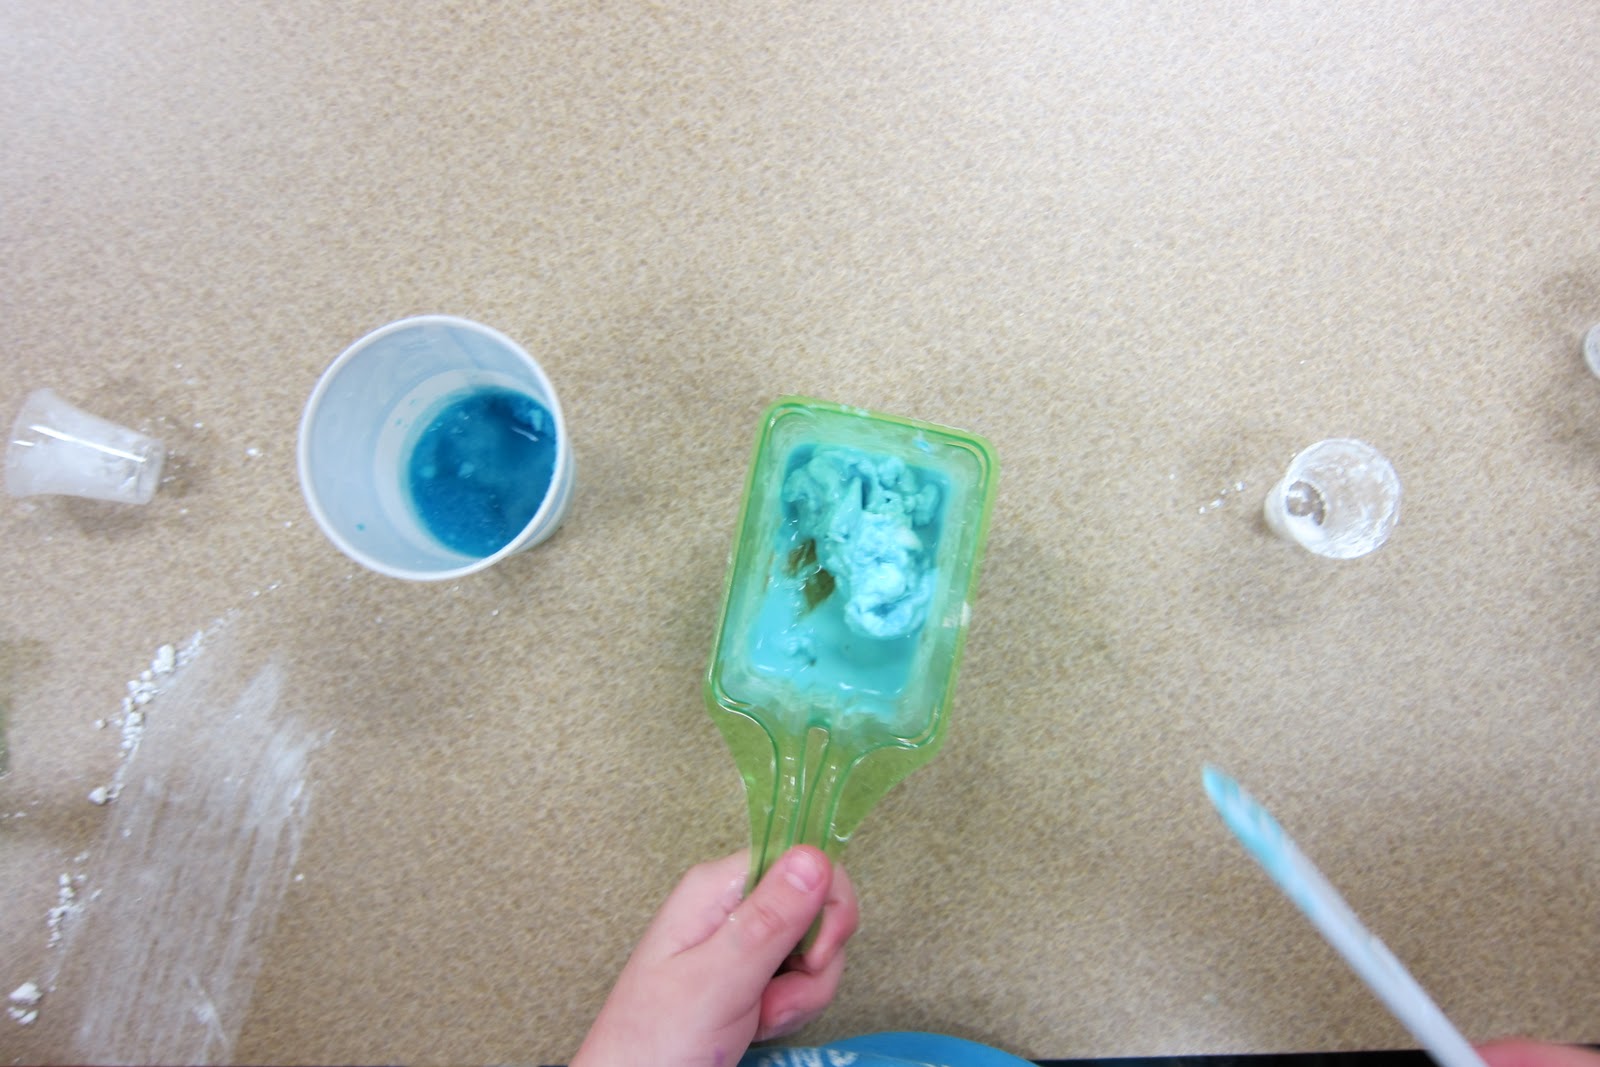
Our "B" science experiment was a huge success. We made The Bouncing Polymer Ball. Here is how to do it.
This is very fun BUT it is MUCH MORE FUN if you have all the ingredients measured out ahead of time.


 Some of our hands turned blue, but we didn't mind. The results are so worth it!

Another one of our science experiments for the letter "B" was Baked Cotton Balls! I had never tried it but it turned out to be SUPER fun and SUPER amazing. OH, and one more thing - SUPER MESSY!

While we waited on our cotton balls to come out of the oven, we played around with blowing bubbles. But, not the normal way, oh no, we did it the Mrs. Karen way! WOW!
We used square containers . . .


 Now of course we need some sand for the camels to ride on. (I'm not sure if you can see, but the children are painting with some old make-up sponges that I found.)
 Here comes the real sand! I put it in an old cinnamon bottle and . . . .
 SHAKE, SHAKE SHAKE!
 WOW, let's look at it again!
Personally, I think I saved our last activity for the very end. Each month we save one piece of artwork to be highlighted at our end of the year art show. This year I wanted something different. We started with some painters tape that I taped down in somewhat of a Christmas tree shape.


Our "B" science experiment was a huge success. We made The Bouncing Polymer Ball. Here is how to do it.
* Label one cup 'Borax Solution' and the other cup 'Ball Mixture'.
* Pour 2 tablespoons warm water and 1/2 teaspoon borax powder into the cup labeled 'Borax Solution'. Stir the mixture to dissolve the borax. Add food coloring, if desired.
* Pour 1 tablespoon of glue into the cup labeled 'Ball Mixture'. Add 1/2 teaspoon of the borax solution you just made and 1 tablespoon of cornstarch. Do not stir. Allow the ingredients to interact on their own for 10-15 seconds and then stir them together to fully mix. Once the mixture becomes impossible to stir, take it out of the cup and start molding the ball with your hands.
* The ball will start out sticky and messy, but will solidify as you knead it.
* Once the ball is less sticky, go ahead and bounce it!
* You can store your plastic ball in a sealed ziploc bag when you are finished playing with it.
* Don't eat the materials used to make the ball or the ball itself. Wash your work area, utensils, and hands when you have completed this activity.


Another one of our science experiments for the letter "B" was Baked Cotton Balls! I had never tried it but it turned out to be SUPER fun and SUPER amazing. OH, and one more thing - SUPER MESSY!

Sorry, this is the only picture I have.
I really meant it when I said messy!
While we waited on our cotton balls to come out of the oven, we played around with blowing bubbles. But, not the normal way, oh no, we did it the Mrs. Karen way! WOW!
We used square containers . . .

We used a circle container . . .

There was even a rectangle container . . .

Now, that was FUN!
Since we always make our own wrapping paper to wrap up our parent gifts, I decided why not incorporate the letter "B" into our activity. We used some blue balloons and WOW!
Some started off with the green paint . . . .
Some started off with the green paint . . . .

Others used the red paint . . . .

Then we swapped . . .

NICE! But we weren't finished . . . . next, we dipped a baseball into some gold paint, put it in a box and bounced it around.

The end results were beautiful!

After we wrapped up our presents

we added this little note so that our parents would know how we made our paper.

Now that I have shown you our wrapping paper, let me show you our present to our parents. First, the boys dressed up like shepherds and the girls dressed up like angels. We took their pictures by the big Nativity scene in one of the upper hallways.

Everyone painted their own Nativity frame and added a star.

AHHHHH . . . the perfect Christmas ornament!
One of our four-year old classes made real apple sauce cinnamon ornaments. The entire hall smelled so good. I've done gingerbread men/ladies with my class before but I wanted to do something different this year - I think I nailed it! First we painted our gingerbread man/lady with plain brown paint (yawn!). Next we sprinkled on some real cinnamon! We mixed up our very own puffy paint icing . . .

I put the homemade puffy paint into some old dishwashing detergent bottles and everyone got to squeeze on a face, some buttons and cute little icing . . .

He/She was very fragile, CUTE, but fragile!
I have a small confession to make, "I am addicted to Pinterest!" I have gotten some amazing ideas off there and here is one of my favorites -

I must give TOTAL credit for this to Simply Cindy. I change it around a little but I can't even start to tell you the wonderful comments I received. Besides being absolutely BEAUTIFUL, it was also a great fine motor skill activity for us. Of course it all started with the child's handprint. I added the star with some glitter paint and everyone filled it in with sequins!


Personally, I think I saved our last activity for the very end. Each month we save one piece of artwork to be highlighted at our end of the year art show. This year I wanted something different. We started with some painters tape that I taped down in somewhat of a Christmas tree shape.

Everyone painted the entire sheet red and green.

Next, we used different sized circle objects dipped in gold paint.

(This child is using an old plastic communion cup!)
The end results are completely amazing . . .

Some of the paper tore when I removed the painter's tape, but after it dried completely and we laminated them, no one can tell!
We ended up by having a wonderful Christmas party on Wednesday and our big Christmas concert on Thursday. This is one VERY tired teacher signing off. See you in 2012!
MERRY CHRISTMAS
and
A Very HAPPY NEW YEAR!


